Medical Equipment & Supplies

How to Organize Medical Supplies

How to Organize Medical Supplies: 15 Smart Tips for Better Inventory Control

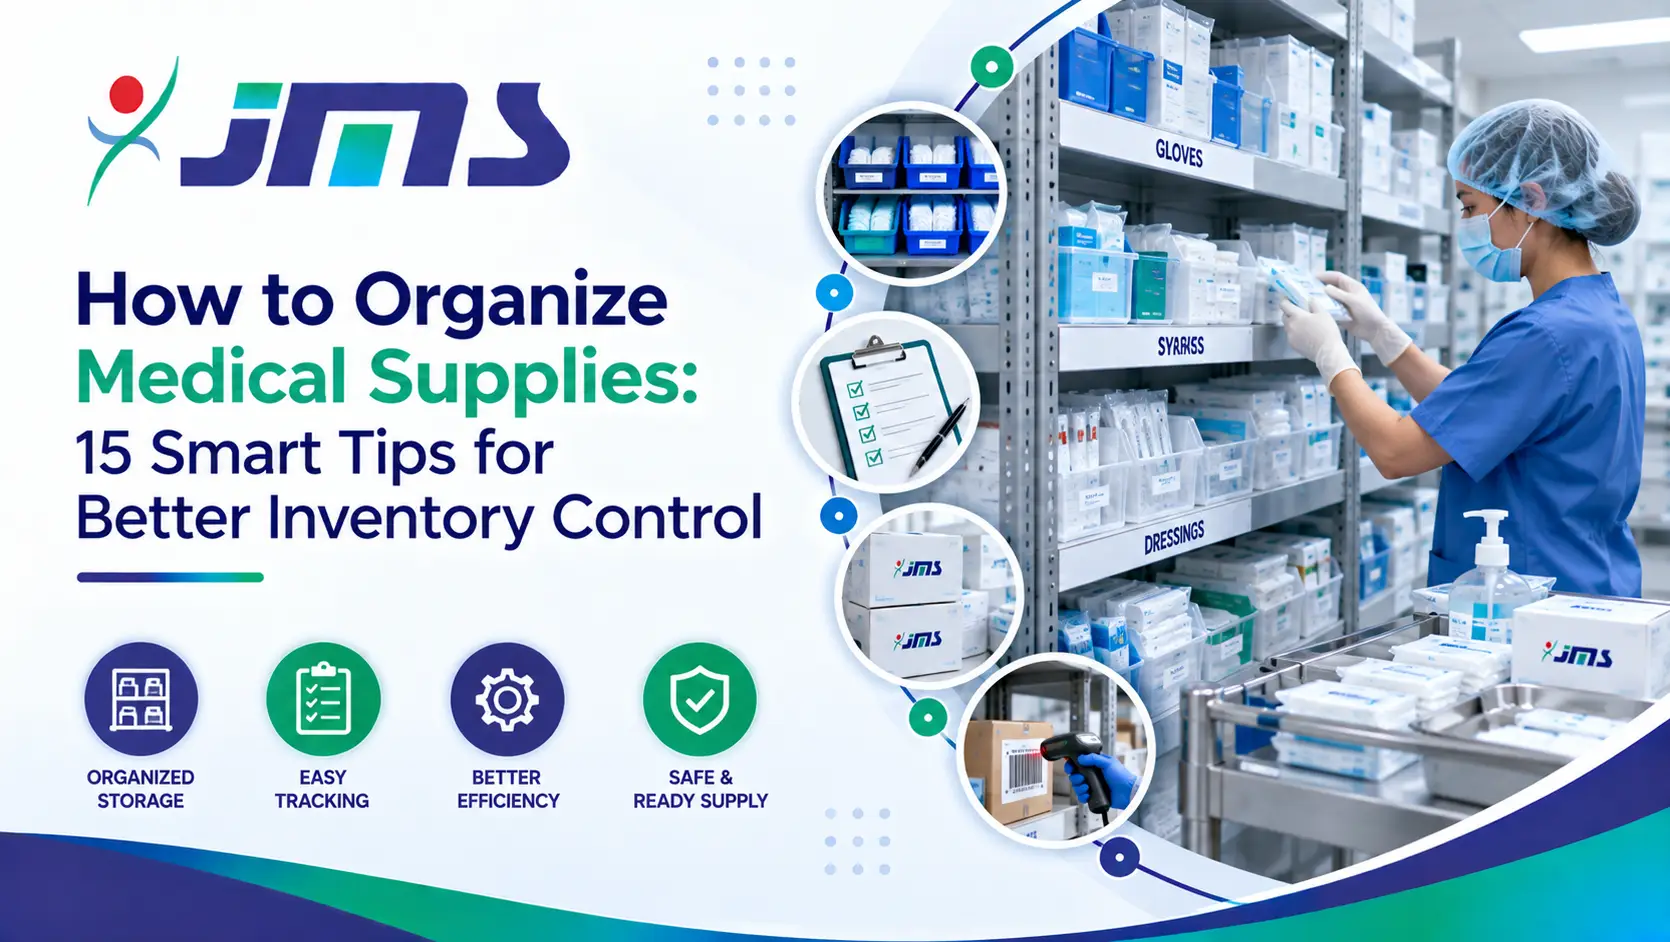
Healthcare facilities manage a large variety of medical supplies every day. Hospitals, clinics, nursing homes, diagnostic centres, surgical facilities, and other healthcare organizations may need to maintain inventory ranging from gloves, gauze, cotton, dressings, and medical tapes to orthopedic products, medical devices, and other essential supplies. When these products are not properly organized, staff may spend more time searching for supplies, stock levels can become difficult to monitor, and products approaching expiry may be overlooked. A structured medical supply organization system can make inventory easier to access, monitor, replenish, and manage. The most useful approach is to organize supplies based on several factors, including product category, usage frequency, department, stock level, expiry requirements, and storage needs. Why Is Proper Medical Supply Organization Important? A well-organized medical inventory can help healthcare facilities: Locate supplies more quickly Maintain appropriate stock levels Reduce unnecessary wastage Monitor expiry dates Improve stock rotation Reduce duplicate purchasing Support efficient department operations Protect products from unsuitable storage conditions Improve inventory visibility Good organization is especially important when a facility manages hundreds or thousands of individual products. 1. Organize Medical Supplies by Product Category The first step is to group products according to their type and general function. For example, a healthcare facility could create separate storage sections for: Medical Gloves Different glove types and sizes can be organized together while keeping individual sizes clearly identified. Cotton Products Absorbent cotton, cotton rolls, cotton balls, dental cotton rolls, and other cotton products can be separated according to their specifications. Gauze and Dressings Gauze swabs, gauze rolls, pads, dressings, and other wound-care products can be grouped together. Medical Tapes Surgical tapes, adhesive products, and related items can have their own designated section. Orthopedic Products Casting materials, padding, bandages, and other orthopedic supplies can be organized separately. Medical Devices and Equipment Products such as nebulizer-related equipment, BP products, O2-related products, and other medical devices should be stored according to their specific requirements. Why this helps: Category-based organization makes products easier to locate and reduces confusion between similar-looking items. 2. Organize Supplies by Usage Frequency Not every medical supply is used at the same rate. Some products may be used hundreds of times a week, while others may only be required occasionally. A practical inventory system can classify products into: High-Use Products Examples may include: Examination gloves Gauze Cotton Common dressings Frequently used medical tapes These products should be placed in easily accessible locations. Medium-Use Products These may be needed regularly but less frequently than everyday consumables. They can be stored in nearby but less prominent locations. Low-Use Products Specialized or occasionally required products can be stored in designated areas without taking up prime-access space. Why Usage Frequency Matters Placing frequently used supplies closer to the point of use can: Reduce staff walking time Make replenishment easier Improve workflow Reduce unnecessary handling Make shortages easier to identify The exact placement should always take into account the product’s required storage conditions. 3. Organize Medical Supplies by Department Large healthcare facilities often have multiple departments with different supply requirements. For example: Emergency Department Operation Theatre Outpatient Department Intensive Care Unit Laboratory Dental Department Orthopedic Department Dressing/Wound-Care Area General Ward Supplies can be allocated or organized according to departmental requirements. Example An orthopedic department may regularly require specific orthopedic products, while a dressing area may require larger quantities of gauze, cotton, and dressings. The facility can maintain: Central Inventory → Departmental Stock → Point-of-Use Stock This structure can help the central procurement team maintain overall visibility while allowing individual departments to access frequently needed products. 4. Create Clearly Defined Storage Locations Every product should ideally have a designated storage location. A storage-location system can include: Room → Rack → Shelf → Product → Size/Specification For example: Medical Store → Rack A → Shelf 2 → Examination Gloves → Medium This makes it easier for staff to locate products and return them to the correct place after receiving or issuing stock. Clear shelf labels can include: Product name Size Specification Stock code Storage requirements where relevant 5. Organize by Stock Level Healthcare facilities should maintain enough stock to support normal operations without unnecessarily overstocking products. A simple stock-level system can classify inventory into: Minimum Stock Level The minimum quantity that should generally be maintained before replenishment is required. Reorder Level The point at which a new purchase order should be considered, taking into account usage and supplier lead time. Maximum Stock Level The quantity above which additional stock may create unnecessary storage pressure, expiry risk, or excess inventory. These levels should be established based on actual usage patterns, supplier lead times, storage capacity, and the criticality of the product. 6. Use Stock Rotation for Expiry Management Expiry monitoring is particularly important for healthcare products that have a defined shelf life. A useful approach is FEFO — First Expiry, First Out. Under FEFO, products with the earliest expiry dates are prioritized for use or issue before products with later expiry dates. Example Suppose a healthcare facility has two batches of the same product: Batch A → Expires in March Batch B → Expires in August Batch A should generally be prioritized for use, provided it remains suitable for use. Why FEFO Helps FEFO can help: Reduce expiry-related wastage Improve stock rotation Identify products approaching expiry Improve inventory control 7. Separate Products According to Storage Requirements Not all medical supplies should necessarily be stored under identical conditions. Some products may require particular environmental conditions according to manufacturer instructions. Storage areas can therefore be organized according to requirements such as: General room-temperature storage Products requiring protection from moisture Products requiring protection from light Products requiring specific temperature conditions Products requiring special handling Products requiring controlled or restricted storage Important: Healthcare facilities should always follow the specific manufacturer’s storage instructions and applicable requirements. Do not assign a generic temperature range to a product without checking its labeling or documentation. 8. Protect Packaging During Storage Medical products should be protected from physical and environmental damage. Storage staff should regularly check

How to Organize Medical Supplies: 15 Smart Tips for Better Inventory Control Read More »

Cannula Fixator: 7 Essential Benefits You Should Know

Cannulas are commonly used in hospitals, clinics, emergency departments, and other healthcare settings to provide access for intravenous (IV) fluids, medicines, and other prescribed treatments. Once a cannula is inserted, keeping it stable and properly positioned is an important part of patient care. A cannula fixator is a medical dressing or securing device designed to help keep an IV cannula safely in place. It can provide support around the insertion site while helping reduce unnecessary movement of the cannula. Therefore, using an appropriate cannula fixation product can support safer IV care, patient comfort, and better management of the cannula site. What Is a Cannula Fixator? A cannula fixator is a medical product used to secure an inserted IV cannula and help prevent unnecessary movement. Depending on the product design, a cannula fixator may include an adhesive dressing, fixation pad, transparent film, or other components designed to hold the cannula in position. It may help: • Secure the cannula to the skin• Cover and protect the insertion site• Reduce accidental movement• Support better visibility of the site with suitable transparent products• Help maintain a stable IV access point However, the exact design and application can vary between products. Therefore, healthcare professionals should follow the manufacturer’s instructions. Why Is Cannula Fixation Important? An IV cannula needs to remain appropriately positioned after insertion. Excessive movement can cause discomfort and may interfere with the IV access. Proper fixation can help: • Reduce unnecessary cannula movement• Support patient comfort• Keep the insertion site covered• Reduce the risk of accidental pulling• Support routine monitoring of the insertion site• Maintain more organized IV care Moreover, appropriate fixation can be particularly useful when patients need IV access for an extended period. How Does a Cannula Fixator Work? A cannula fixator generally works by securing the cannula and its surrounding area to the patient’s skin. The fixation material provides support around the cannula hub while the dressing or adhesive component helps keep the device from shifting unnecessarily. Depending on the product, the fixator may also provide a protective covering over the insertion site. As a result, the cannula can remain more stable during routine patient movement and healthcare activities. What Are the Main Parts of a Cannula Fixator? The design of a cannula fixator depends on the manufacturer and product type. However, common components may include: • Adhesive fixation area• Cannula securing pad• Transparent dressing• Protective film• Stabilizing section• Reinforcement strips Some products combine several of these features into a single pre-designed dressing. Therefore, healthcare facilities should select a product based on the type of cannula and the intended clinical application. Types of Cannula Fixators Different fixation products are available for different healthcare requirements. Common types may include: • Transparent cannula dressings• Adhesive cannula fixators• Cannula stabilization dressings• Securement dressings• Sterile IV fixation dressings Transparent products are particularly useful when healthcare professionals need to visually monitor the insertion site without removing the dressing. Transparent Cannula Fixators Transparent cannula fixators are designed to secure the cannula while allowing visibility of the insertion area. This can help healthcare professionals observe the surrounding skin and identify visible changes that may require attention. Potential benefits include: • Better visibility of the insertion site• Secure cannula fixation• Protection of the site• Easier routine monitoring• Reduced need for unnecessary dressing removal However, the dressing should be replaced according to appropriate clinical procedures and manufacturer guidance. Adhesive Cannula Fixators Adhesive cannula fixators use a medical adhesive to attach the fixation dressing to the skin. The adhesive helps hold the cannula in place and can reduce unnecessary movement. When selecting an adhesive fixator, healthcare professionals should consider: • Skin condition• Required fixation strength• Duration of use• Patient comfort• Location of the cannula• Product specifications For patients with fragile or sensitive skin, a suitable gentle adhesive product may be preferable. Sterile Cannula Fixation Products Sterile fixation products can be used when maintaining an appropriate level of asepsis around an IV insertion site is required. These products are designed and packaged to support sterile application according to their intended use. Healthcare professionals should check the packaging before use and should not use products if the packaging is damaged or the product is otherwise compromised. Where Are Cannula Fixators Used? Cannula fixators are commonly used in healthcare environments where peripheral IV cannulas are placed. These may include: • Hospitals• Emergency departments• Clinics• Day-care treatment centres• Nursing facilities• Other supervised healthcare settings They may be used for patients receiving IV fluids, medicines, or other treatments through an appropriate IV access device. Benefits of Using a Cannula Fixator Using a suitable cannula fixation product can provide several practical benefits. These include: • Better cannula stability• Reduced unnecessary movement• Protection of the insertion site• Improved patient comfort• Easier visual monitoring with transparent products• Support for organized IV care Furthermore, appropriate fixation can help healthcare professionals manage IV access more efficiently. How to Apply a Cannula Fixator Cannula fixation should be performed by appropriately trained healthcare professionals according to clinical protocols and the manufacturer’s instructions. A general process may involve: • Preparing the insertion site according to the relevant clinical procedure.• Checking that the cannula is correctly positioned.• Selecting an appropriate fixation product.• Applying the fixator without unnecessarily covering areas that need monitoring.• Ensuring the adhesive is securely attached to suitable skin.• Checking that the cannula remains stable.• Monitoring the site regularly according to clinical requirements. The exact procedure can vary depending on the cannula, fixation product, patient, and healthcare setting. What Should Be Checked After Cannula Fixation? After the cannula has been secured, healthcare professionals should continue to monitor the site according to applicable clinical protocols. They may check for visible signs such as: • Redness• Swelling• Bleeding• Leakage• Discomfort• Loosening of the dressing• Changes around the insertion site If any concerning signs are observed, the healthcare professional should assess the cannula and manage it according to the appropriate clinical protocol. When Should a Cannula Fixator Be Replaced? The fixation dressing should be changed according to the healthcare facility’s protocol, product instructions,

Cannula Fixator: 7 Essential Benefits You Should Know Read More »

Medical Adhesive Tape: Types, Uses and How to Choose the Right One

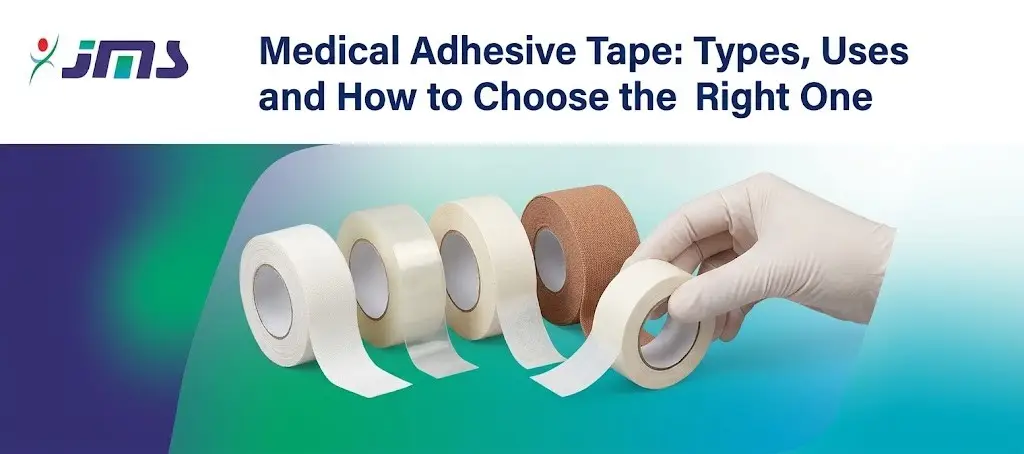
Medical adhesive tape is a commonly used healthcare product found in hospitals, clinics, pharmacies, and home-care settings. It helps secure dressings, bandages, tubes, and other medical materials in place. Although medical adhesive tape may look simple, different types are designed for different purposes. Some tapes are suitable for securing dressings, while others are designed for delicate skin or longer wear. Therefore, choosing the right medical adhesive tape can help improve comfort, support proper wound care, and keep medical materials securely positioned. What Is Medical Adhesive Tape? Medical adhesive tape is a healthcare product designed to attach or secure medical materials to the skin or other suitable surfaces. It may be used with: • Gauze and wound dressings• Bandages• Medical tubing• Catheters and lines• Surgical dressings• Small medical devices Medical tapes are available in different materials, widths, adhesive strengths, and designs. As a result, healthcare professionals can select a suitable tape based on the patient’s needs and the intended application. Why Is Medical Adhesive Tape Important? Keeping a dressing or medical device securely in place is an important part of patient care. If a dressing moves or becomes loose, the affected area may not remain adequately covered. Suitable medical adhesive tape can help: • Secure wound dressings• Hold gauze in position• Support medical tubing• Reduce unnecessary movement of dressings• Maintain the position of certain medical devices• Support organized patient care Moreover, choosing an appropriate tape can help improve patient comfort, particularly when it needs to remain on the skin for a longer period. Common Types of Medical Adhesive Tape Medical adhesive tapes are available in several varieties. Each type has different characteristics and applications. Common types include: • Paper medical tape• Microporous tape• Transparent medical tape• Cloth medical tape• Waterproof medical tape• Hypoallergenic medical tape• Surgical adhesive tape However, the exact features and recommended uses can vary between products. Therefore, healthcare professionals should check the manufacturer’s instructions before selecting or using a particular tape. Paper Medical Tape Paper medical tape is lightweight and commonly used for general healthcare applications. It can be suitable for securing: • Gauze• Light dressings• Bandages• Tubing in selected situations Paper tape is often easy to tear and remove. In addition, some paper tapes are designed to allow a degree of air and moisture vapour exchange. Therefore, it can be a practical option when strong fixation is not required. Microporous Medical Tape Microporous medical tape is designed with a breathable structure that can allow air and moisture vapour to pass through the tape. It may be used to secure: • Dressings• Gauze• Tubing• Catheters• Other lightweight medical materials Because breathability can be useful for certain applications, microporous tape is often considered when prolonged skin contact is expected. Nevertheless, the tape should always be selected according to the patient’s skin condition and the intended medical application. Cloth Medical Tape Cloth medical tape is generally more durable and may provide stronger fixation than some lightweight tapes. It can be used for applications where a secure hold is required, such as: • Securing dressings• Supporting medical tubing• Holding certain medical devices in place However, stronger adhesion is not always better. For sensitive or fragile skin, a gentler tape may be more appropriate. Transparent Medical Tape Transparent medical tape allows the area underneath the tape to remain partially visible. This can be useful when healthcare professionals need to observe the condition of the surrounding area without immediately removing the tape. Depending on the product, transparent tapes may be used for: • Securing dressings• Fixing medical devices• Supporting catheter-related applications• Protecting selected areas The specific application should always follow the product’s intended use. Waterproof Medical Tape Water-resistant or waterproof medical tapes are designed to provide better resistance to moisture than standard tapes. They may be useful in situations where exposure to water or moisture is expected. However, waterproof does not mean that every medical tape can be submerged or used for every type of wound. Therefore, users should check the product specifications before use. Hypoallergenic Medical Tape Some people may have sensitive skin or may develop irritation from certain adhesives. Hypoallergenic medical tapes are designed to reduce the likelihood of skin irritation for suitable users. However, no adhesive can guarantee that a person will never experience a skin reaction. Therefore, healthcare professionals should consider the patient’s skin condition and previous sensitivity when selecting a medical tape. Surgical Adhesive Tape Surgical adhesive tapes are designed for specific healthcare and wound-care applications. They may be used to secure dressings or support certain wound-care procedures, depending on the product. Some surgical tapes are designed to provide strong yet flexible fixation. Others may focus more on breathability or gentle removal. As a result, the correct product should be selected according to the procedure, location, skin condition, and manufacturer’s recommendations. Uses of Medical Adhesive Tape Medical adhesive tape has many applications across healthcare settings. Common uses include: • Securing wound dressings• Holding gauze in place• Fixing bandages• Securing medical tubing• Supporting certain catheters and lines• Holding selected medical devices• Supporting routine wound-care procedures Furthermore, healthcare professionals may use different tapes depending on the patient’s condition and the specific procedure being performed. How to Choose the Right Medical Adhesive Tape Choosing medical tape should involve more than simply selecting the strongest adhesive. Several factors should be considered. Consider the Intended Use First, determine what the tape needs to secure. For example, lightweight paper tape may be suitable for certain dressings, while a stronger tape may be required for some medical devices. Therefore, always match the tape to its intended application. Consider the Patient’s Skin Skin condition is another important factor. Patients with sensitive, fragile, or easily irritated skin may require a gentler adhesive product. In contrast, a stronger adhesive may be appropriate for some applications where secure fixation is essential. Thus, patient comfort and skin condition should be considered alongside holding strength. Consider Adhesive Strength Medical tapes come with different levels of adhesion. A tape with insufficient adhesion may come loose too easily. On the other hand,

Medical Adhesive Tape: Types, Uses and How to Choose the Right One Read More »

How to Clean and Maintain a Nebulizer Properly

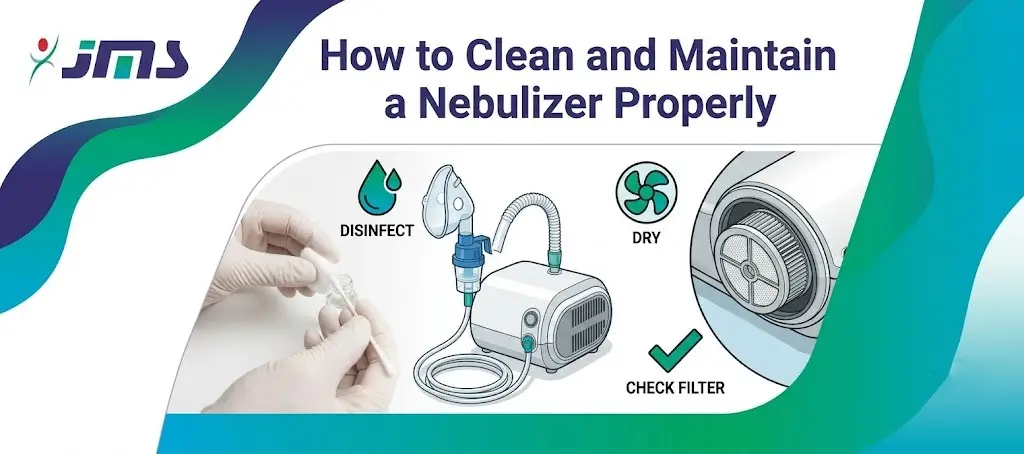
Nebulizers are commonly used to deliver prescribed medicines directly into the lungs. They can be useful for people who need inhaled medication but may have difficulty using certain inhalers correctly. However, a nebulizer needs proper cleaning and maintenance after use. Medicine residue, moisture, and microorganisms can build up inside the equipment if it is not cleaned properly. Therefore, regular cleaning is important for maintaining the hygiene and performance of the device. Whether used at home, in a clinic, or in a hospital, knowing how to clean and maintain a nebulizer properly can help support safer respiratory care. What Is a Nebulizer? A nebulizer is a medical device that changes liquid medicine into a fine mist. The patient then breathes this mist through a mouthpiece or mask so that the medicine can reach the lungs. A typical nebulizer setup may include: • Compressor• Medicine cup• Tubing• Mouthpiece or mask• Air filter, depending on the device Because several parts are involved, each component should be handled and maintained according to the manufacturer’s instructions. Why Is Nebulizer Cleaning Important? A nebulizer comes into contact with medication, moisture, and the patient’s breathing passages. As a result, its components can become contaminated when they are not cleaned properly. Regular cleaning can help: • Reduce the buildup of medicine residue• Maintain better equipment hygiene• Reduce contamination risks• Keep the nebulizer ready for the next use• Support proper delivery of prescribed medication• Extend the useful life of suitable components Therefore, cleaning should be considered an important part of routine nebulizer care. When Should You Clean a Nebulizer? The nebulizer should generally be cleaned after each use, unless the manufacturer provides different instructions. After completing a treatment, leftover medicine should not simply be left inside the medicine cup. Instead, the reusable components should be cleaned as directed. In addition, some nebulizer parts may require regular disinfection or replacement. The exact schedule can vary depending on the device and manufacturer. How to Clean a Nebulizer After Each Use Cleaning a nebulizer does not have to be complicated. However, the steps should be followed carefully. A basic cleaning routine may include: • Turn off the nebulizer and disconnect it from the power supply.• Separate the removable components according to the manufacturer’s instructions.• Empty any remaining medication from the medicine cup.• Clean the reusable parts as instructed by the manufacturer.• Rinse applicable components with clean water when recommended.• Allow the components to air-dry completely in a clean area.• Reassemble the device only after the parts are completely dry. Importantly, do not wash the compressor, electrical components, or tubing unless the manufacturer specifically states that they are washable. How to Disinfect Nebulizer Components Regular cleaning and disinfection are not always the same thing. Cleaning removes visible residue and dirt, while disinfection is intended to reduce microorganisms on suitable equipment surfaces. Some nebulizer components may require periodic disinfection based on the manufacturer’s instructions. Depending on the device, the manufacturer may recommend a particular disinfecting method. Therefore, users should always follow the instructions supplied with their nebulizer rather than using household cleaning products without checking first. How to Clean the Nebulizer Mask or Mouthpiece The mask or mouthpiece comes into direct contact with the user’s face or mouth. Therefore, these components require careful cleaning. After use: • Separate the mask or mouthpiece from the nebulizer.• Clean it according to the manufacturer’s instructions.• Rinse it if the instructions recommend rinsing.• Place it in a clean area to air-dry completely.• Store it in a clean, dry location after drying. Furthermore, these components should not be shared between people unless they are specifically designed and approved for such use with appropriate cleaning and disinfection procedures. What About the Nebulizer Tubing? Nebulizer tubing connects the compressor to the medicine cup and plays an important role in the system. However, tubing should not automatically be washed or submerged in water. Moisture inside the tubing can interfere with proper operation and may encourage contamination. Therefore, follow the manufacturer’s instructions regarding tubing care. If the tubing becomes visibly contaminated, damaged, or difficult to use, it may need to be replaced. How to Keep the Nebulizer Dry Moisture is one of the important factors to consider when maintaining a nebulizer. After cleaning, reusable components should be allowed to dry completely before storage. To maintain better hygiene: • Place cleaned parts on a clean, dry surface.• Allow them to air-dry completely.• Avoid storing wet components inside a closed container.• Keep the equipment away from dust and moisture.• Store the device according to the manufacturer’s recommendations. As a result, proper drying can help maintain cleaner equipment between treatments.   How to Maintain the Nebulizer Compressor The compressor is the main electrical unit of many nebulizers. Unlike removable components, it should not be washed or submerged in water. Instead, users should: • Keep the compressor on a clean and dry surface.• Wipe the exterior according to the manufacturer’s instructions.• Keep the air vents free from dust and obstruction.• Check the power cord and plug for visible damage.• Follow the recommended maintenance instructions. If the compressor develops unusual sounds, overheating, or other problems, it should be inspected according to the manufacturer’s guidance. When Should Nebulizer Parts Be Replaced? Nebulizer components do not necessarily last forever. Some parts may need regular replacement depending on the device, frequency of use, and manufacturer’s recommendations. Replacement may be necessary if a component is: • Cracked or damaged• Discoloured or visibly contaminated• Difficult to clean• Showing signs of wear• Not functioning properly• Past the manufacturer’s recommended replacement period Therefore, users should check the product manual and replace components when required. Common Nebulizer Cleaning Mistakes to Avoid Even when users clean their nebulizers regularly, certain mistakes can affect equipment hygiene. Avoid: • Leaving medication inside the medicine cup• Storing components while they are still wet• Using unsuitable household cleaning chemicals• Washing electrical components• Ignoring damaged or cracked parts• Using expired or contaminated supplies• Sharing equipment without appropriate cleaning and disinfection Additionally, users should avoid modifying the nebulizer or its components without

How to Clean and Maintain a Nebulizer Properly Read More »